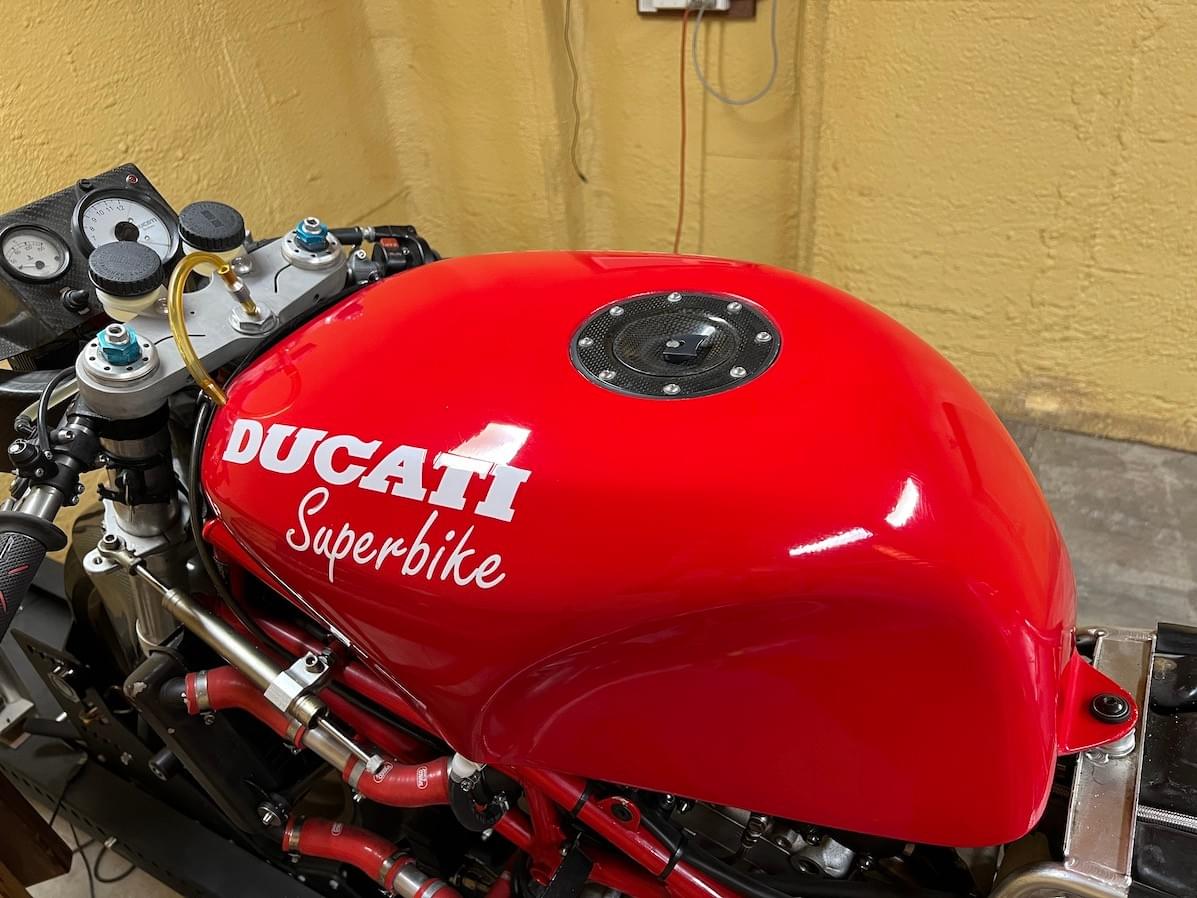
They say you can't drown your sorrows as sorrows know how to swim.....but I was determined to test the theory in the aftermath of this little effort. I didn't so much drink as completely submerge in alcohol and just occasionally come up for air.
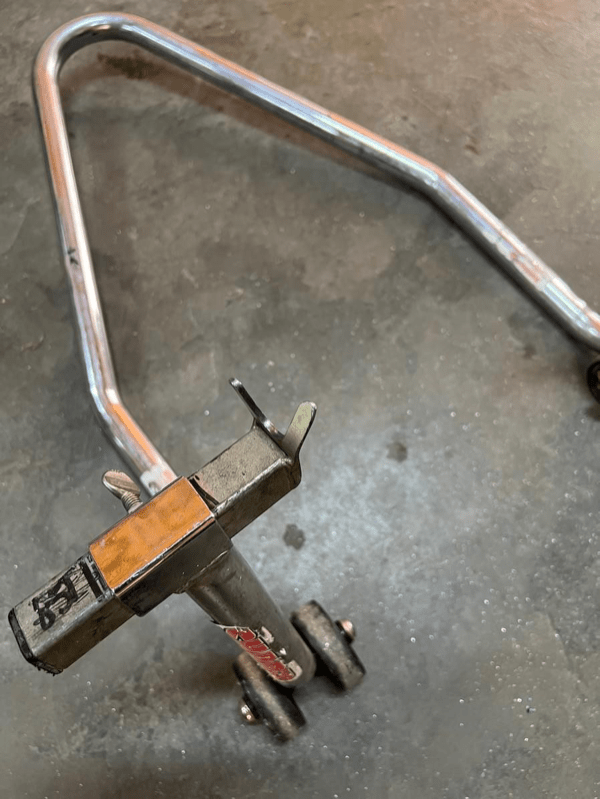
I mentioned earlier that I'd been manouveuring the 851 around the shed and the bike had fallen off the paddock stand. Lifting the rear of the stand I was pushing the bike outside through the big sliding door (workshop = ex-coolroom), crossing the concrete expansion/casting joint where the shed proper meets the outside apron, the bike rocked slightly and....CRUNCH! The ol' girl had flopped on her side like a landed fish: the tang on one of the bobbin hooks had bent, allowing the swingarm bobbin (and bike) to slip free:Sure?
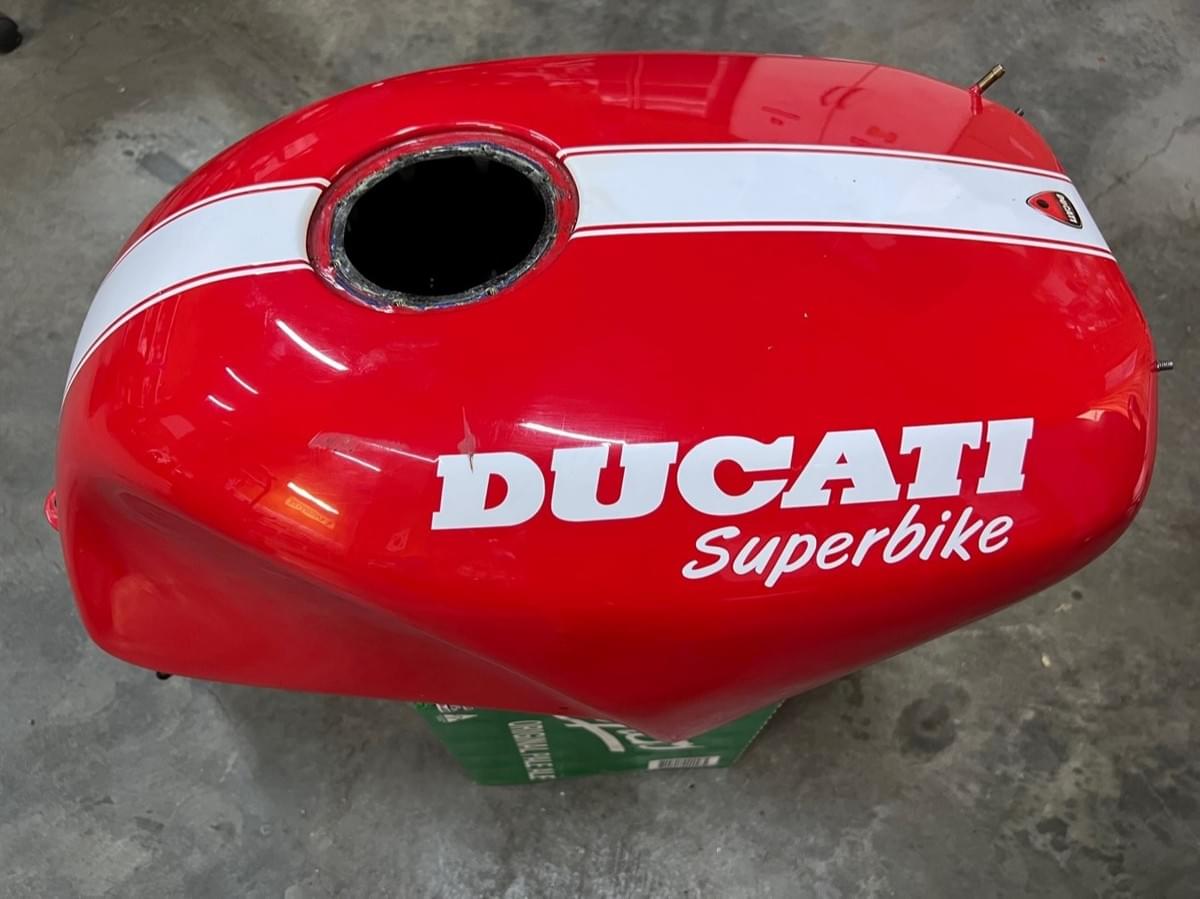
SHIIIIIT! The fairings were off the bike so I had every toe and finger instinctively crossed that not too much damage was done. Thank gawd, just a minor mark on the "D" (for "Dickhead!") shown below:
....only to be absolutely gutted when I realised the rare genuine Corsa carbon tank had been crushed against the steel door frame, splitting it along the manufacturing join between the two halves:
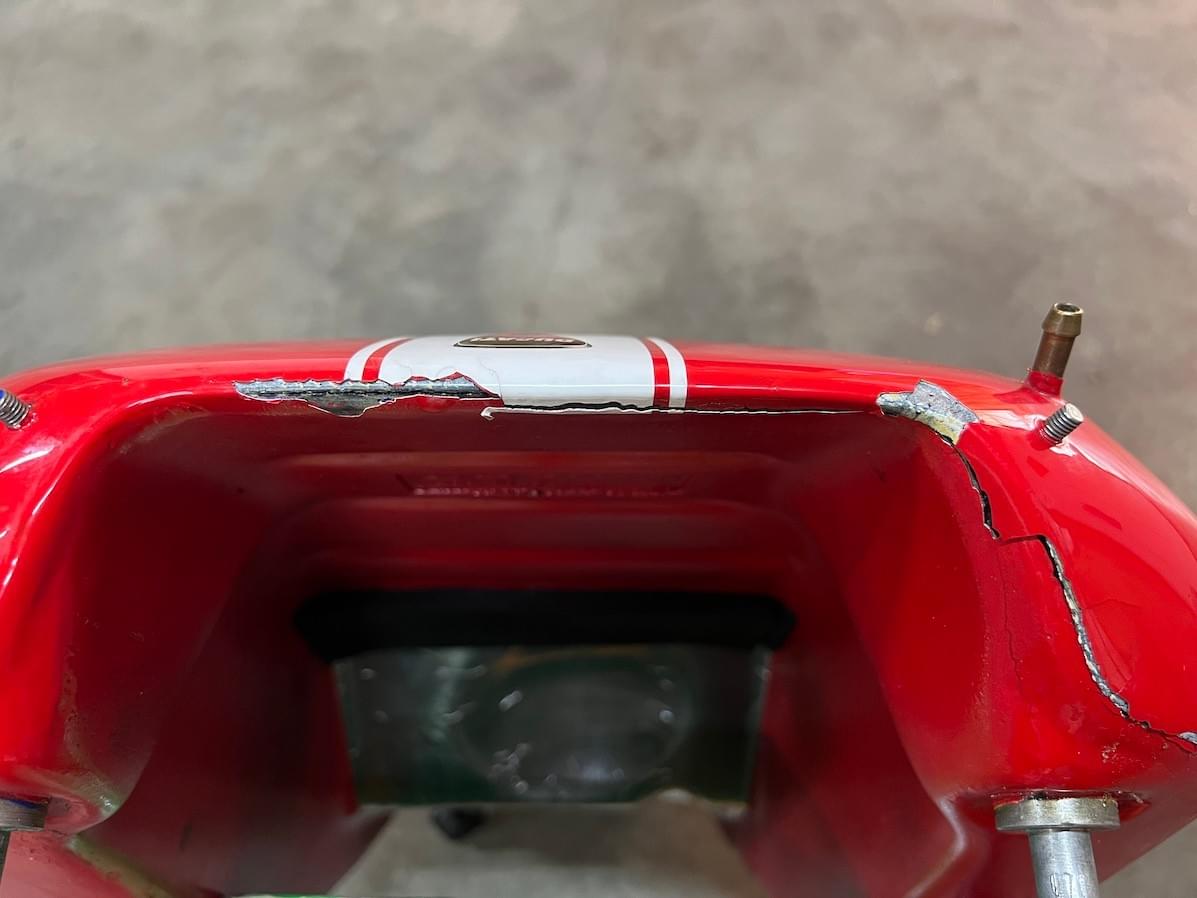
I literally could not believe it when my fingers first brushed the jagged carbon. "No, it'll just be....it'll just be...." I struggled to think of anything else it could be, it just couldn't possibly be as shattered as it felt. I clucked over it like an ol' chook, fussing away, checking...and re-checking...and hoping somehow it wasn't as bad as it looked.....but there was no get out of jail free card here, it was proper export-grade FUCKED. I mean there are two meanings to the word and in the Illustrated Oxford Dictionary there would be pictures of (1) a pornstar and (2) this tank.
With all the other crap going on at the time I just couldn't deal with it, didn't even know where to start, but that's when my drinking went from enthusiatic amateur to consummate professional:

I just pushed the bloody thing (not sure why I was angry at the bike, but I was, even though it was all my own doing) into a corner of the shed and avoided eye contact for the next few weeks, busying myself with the 799RS project.
Eventually, in one of my rare surfacing for air moments, I realised I had three options;
- Replace the tank
- Fix the tank
- Perform an exorcism
Realistically?
- It had taken me years to find an affordable carbon tank, the likelihood of another conveniently turning up when I wiggled my nose like Samantha from "Bewitched" was miniscule to non-existent.
- I didn't know any priests but even if I did I suspect they'd be far more likely to start dousing me in holy water before the (devil!) bike.
- Which only left "fix the fucking thing" (hmmm, was I sure I didn't know any priests.....?)
All well and (not so) good.....but how?
I had absolutely no idea where to start, but finally some fresh air wafted into my farted out phone booth....
I lucked out contacting Richard at Carbonworks, in the Perth Hills. Unbeknownst to me he was an ex-McLaren Formula 1 composites specialist, these days working in his small business mostly repairing carbon bicycle frames and what he does with what he receives is quite incredible.
He was kind enough to take a look at the tank, and talk through a few options. The main issue complicating a repair was a cross rib/baffle bracing the "roof" of the tank directly in front of the filler opening, and the "floor" of the tank is raised to clear the airbox, so there is absolutely no access to the front of the tank internally. There is maybe a 20mm gap between the rib and floor of the tank, so all repair work had to be completed externally.
Richard would have attempted a repair of the tank, but understandably was not comfortable with not being able to offer a guarantee of success due to the access issue, and it's his reputation on the line. But with that in mind he offered to walk/talk me through repairing it myself, as I went, and was very generous with his knowledge, just a top bloke.
So the following actually occured over a few months, working around time offshore, timing stages with other carbon fibre work on the 799RS project, waiting on materials etc.
First up was to clear out the split, giving the epoxy repair a greater internal surface area on which to bond, better penetration etc:
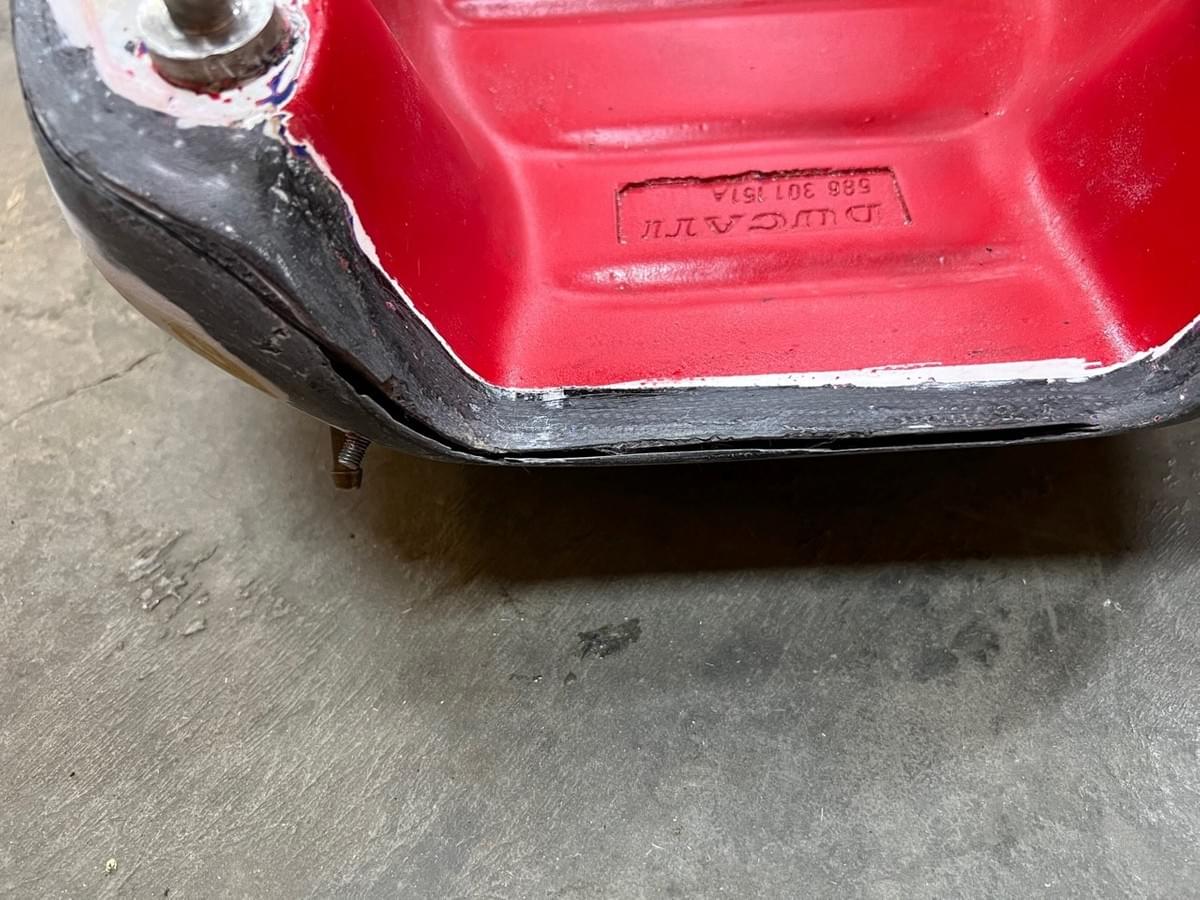
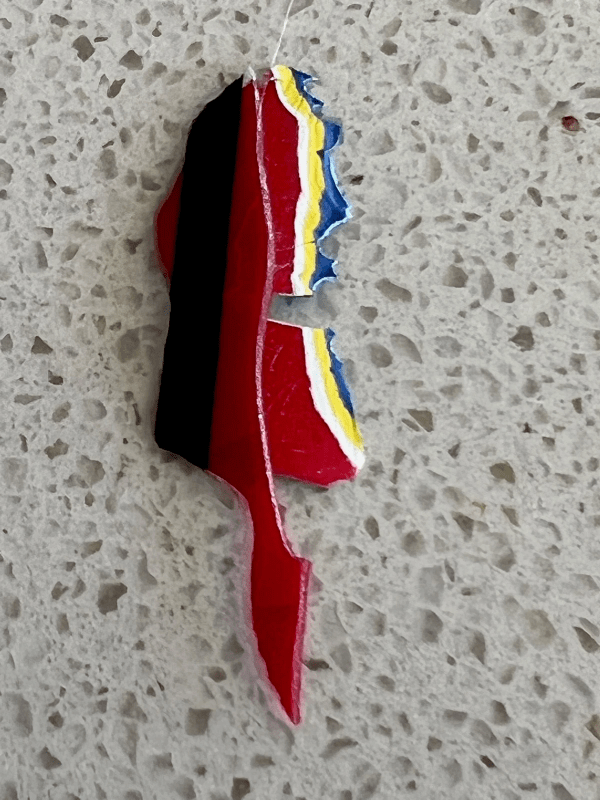
It was at this stage working on prepping the top surface I realised there were at least 3, probably 4 (?), previous layers of paint on this thing, peeling off in thick chips where the tank had flexed. A stratified paint chip for your perusal:
I couldn't add another layer so the whole lot had to come off, and you'll see why this meme sprang to mind:

Although to be honest I wasn't feeling particularly thankful:
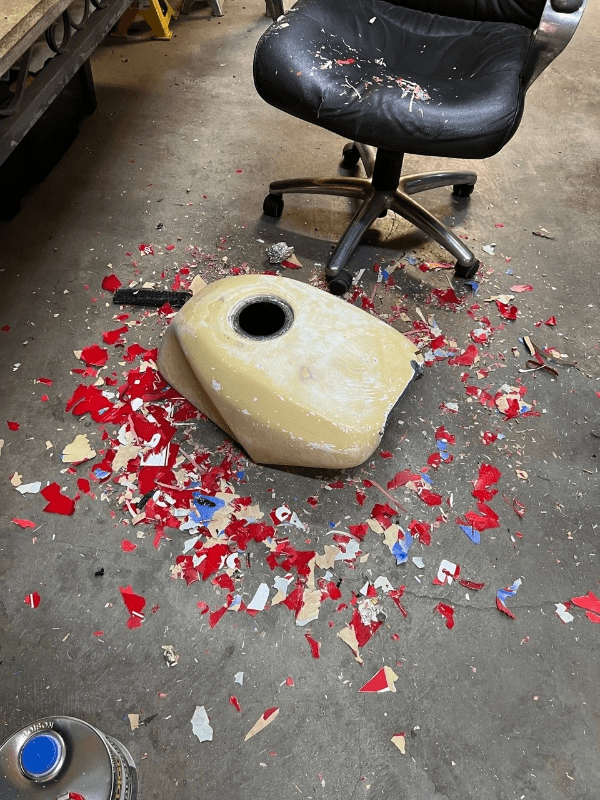
Jaysus, it feels like I'm taking an awful lot of steps backwards, I mean for something I'm supposedly fixing it's looking worse every time I touch it.
But eventually I started making forward progress. I put my own spin on Richard's helpful methodology: the trick is to not just slap some carbon fibre over the split but to get the epoxy to penetrate/key in and stay there while it set, occupying/sealing as much internal surface area as possible, easier said than done as the epoxy just wants to seep out.
So my ultra high-tech solution was to wet down the area/split with epoxy, lay a couple of layers of carbon fibre over the area, compress/seal it with masking tape and then pour a little epoxy in past the rib/baffle and roll it around the front of the the tank, filleting the repair along the inside:
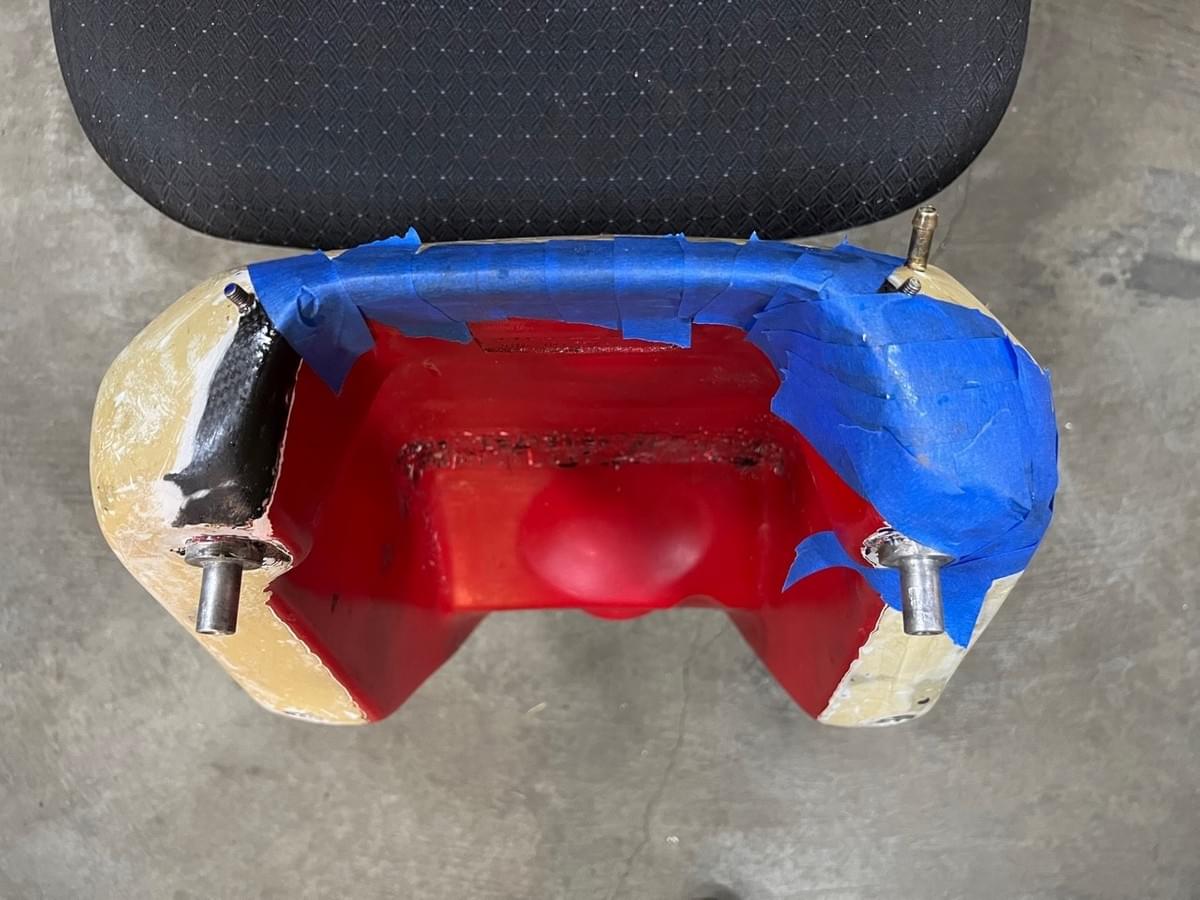
OMG...that actually looks alright:
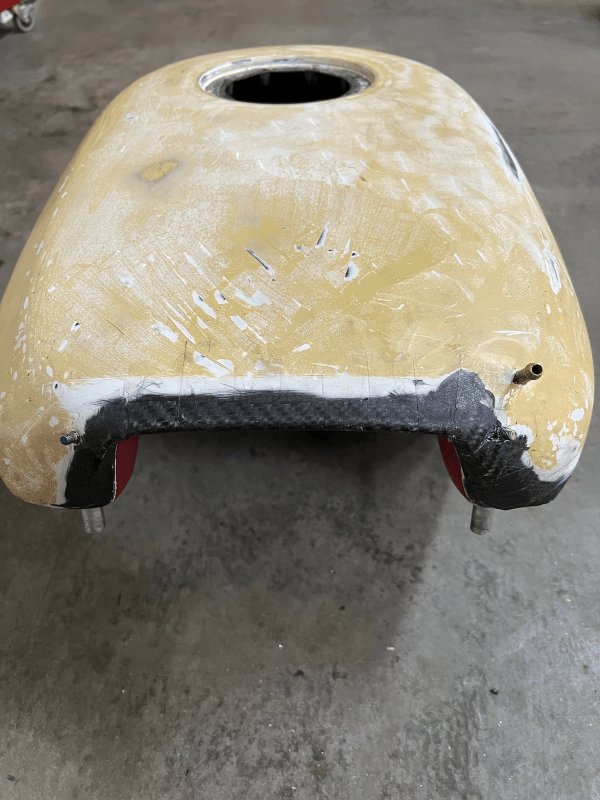
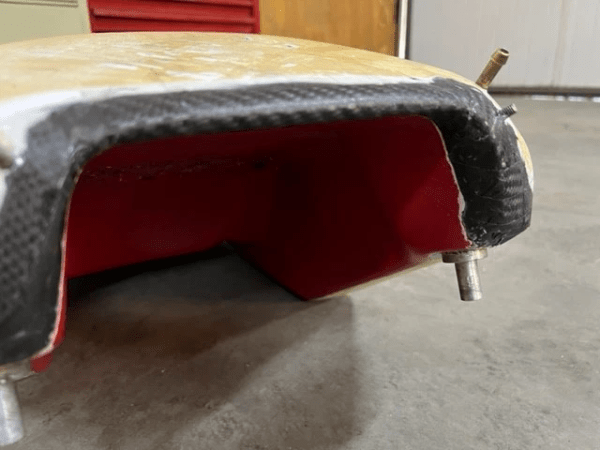
I gave it a week or so to fully cure then came the acid (petrol) test, pouring a couple of litres of fuel into the tank, propping it up with the repair submerged overnight. It braced myself as I opened the shed door the next day, fully expecting to be assailed by the stench of leaked fuel....but winna winna chicken dinna! Not a weep anywhere, dry as toast. Now that deserves a drink!
Again Richard was helpful, quietly chuffed with his star (only!) pupil, and advised how best to prep (sand until no glossy epoxy areas remain), acetone prior to priming (2 pak primer), then just paint as normal.
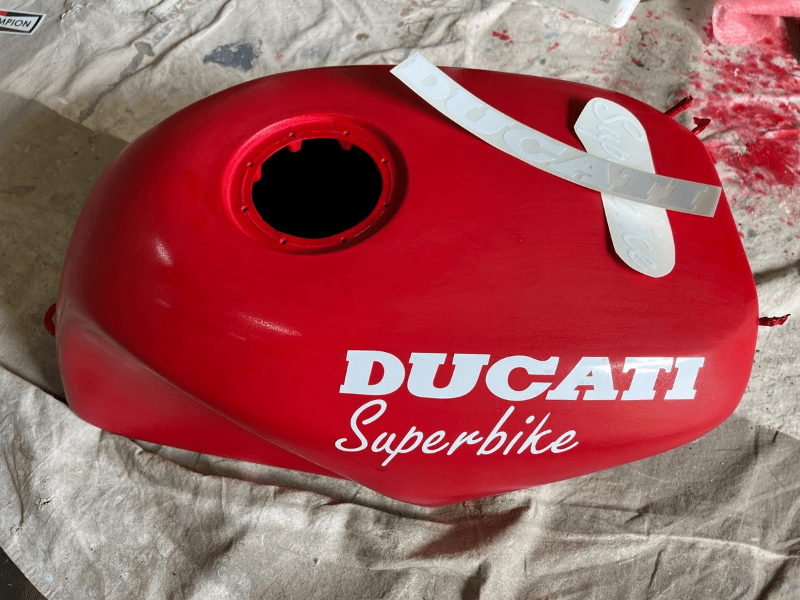
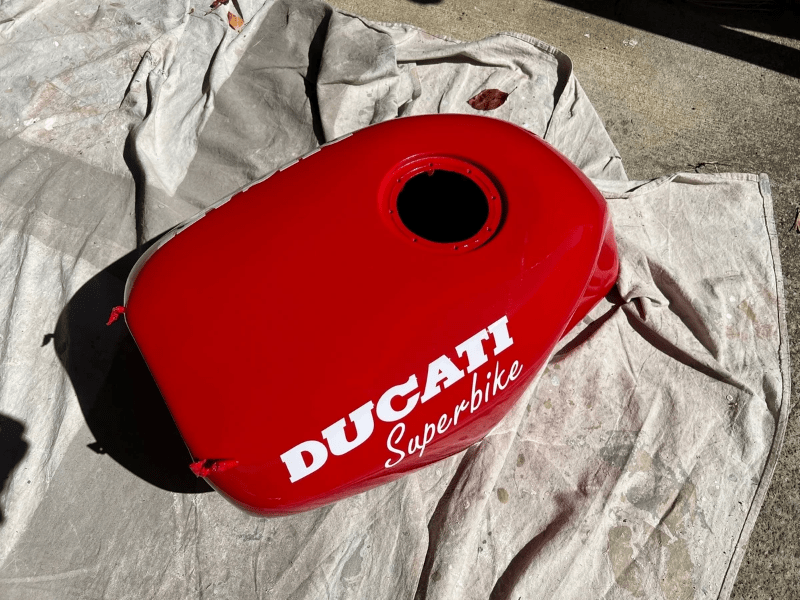
So I did. The only minor issue was the decal's, I hadn't waded through all this shit just to have cheap decal's turn up their toes at the first wiff of 2K clear, UV, or petrol, so it took a bit of time to get some good quality "Roche replica" decal's sitting in my sweaty paw. But here you go, in process prior to clearcoat:
Fresh off the gun, will need some flatting/buffing but I'm happy enough:
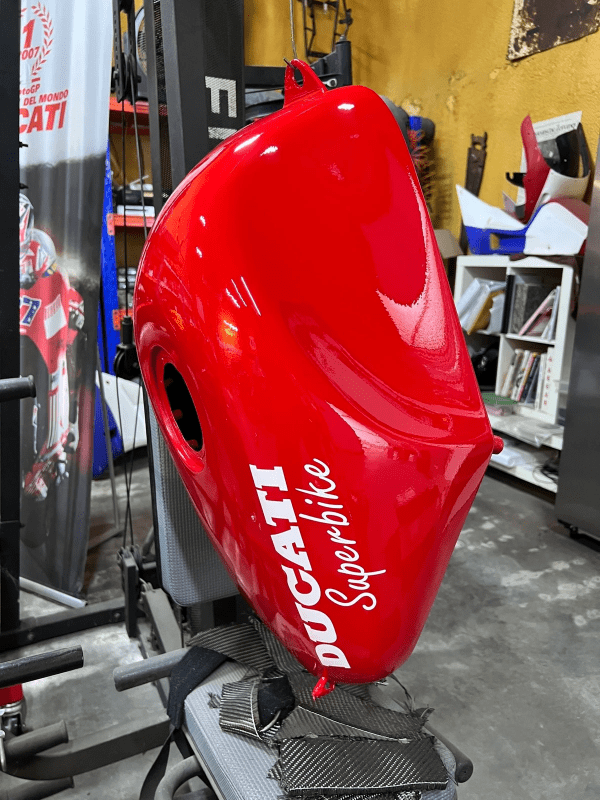
FYI, I was never a big fan of the stripe so it was never going to be replicated.
"Baking" outside, nice to be able to put Perth's 40degC Summer sun to good use:
Amongst all this faffing about I'd found a wee treasure, a Corsa carbon gas cap. It was very much the worse for wear, being cracked and badly sun damaged but it was a simple lil' glory job to restore. Compared to the above it was almost instant gratification and who doesn't mind a bit of that?
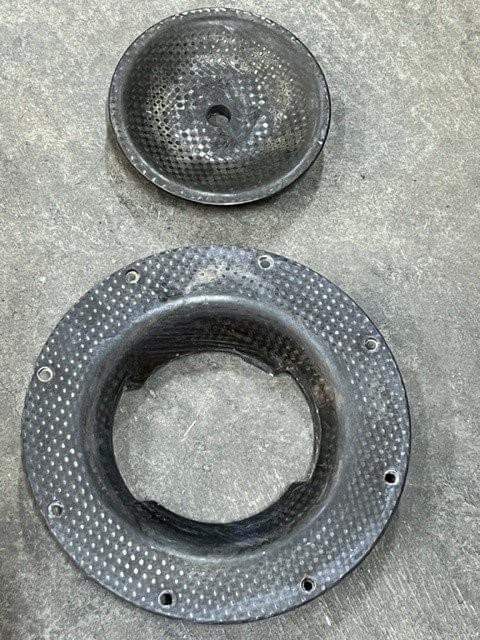
I quick sand back to solid substrate, mix some clear epoxy, thin it with 10% acetone, and then just spray it as you normally would paint/clear-coat. The acetone allows the epoxy to be sprayed then evaporates out. A quick sand and polish (literally took 5 minutes) and "Voila!":
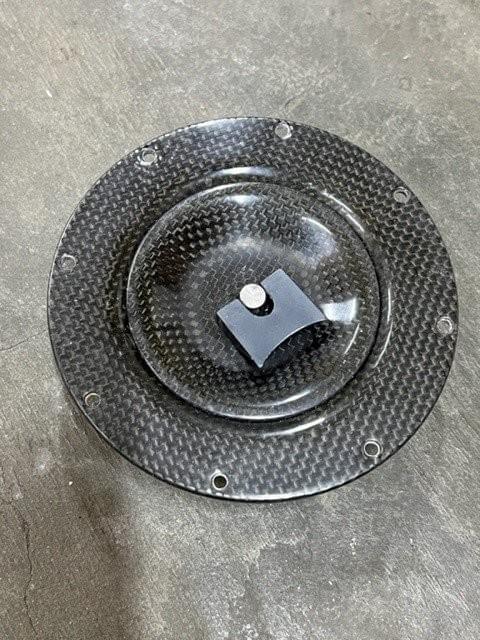
Again, carbon is nice to look at but it's supposed to be functional, especially on a race bike, so I prefer not to go overboard on the polishing, just a soft gloss rather than full on mirror polish suits my taste...or lack thereof.
My paint-job isn't quite as good as the previous effort, but (desperately trying to be positive here) on the upside I'd found a couple of small issues like a de-laminated fuel pump mounting bracket inside the tank (meaning the pump was basically only held in by gravity) and one very bodgy fuel line clamp waiting to let go, not to mention it's minus a few extra layers of paint....but it's still 5 months to basically get back where I started....(sigh):
